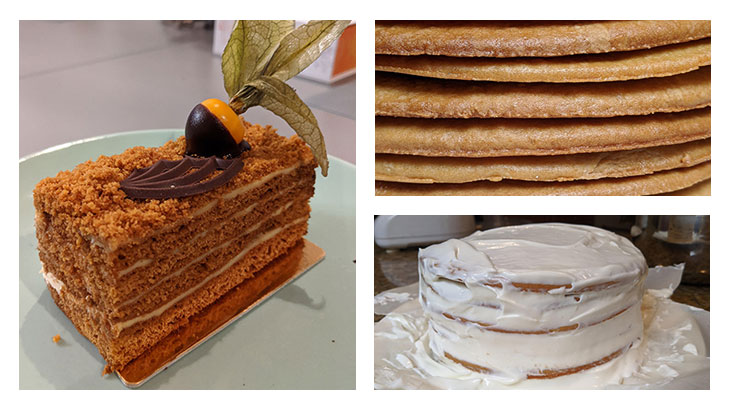
Oh, Honey!
Want to skip straight to the recipe? Click here!
Life is pretty bleak right now.
As the weeks and months wear on, my hopes of visiting any European Christmas markets this December are fading away. I’ve already canceled two trips this summer: one to Mongolia and another to see relatives in South Africa. I’m spending my time in books, most recently reading Lafayette, John Adams, and On War. But my heart hurts for the loss of Christmas markets, particularly the food I can’t find at home in Florida.
So instead of planning a trip – any trip, even to the grocery store – I decided to take on the honey cake.
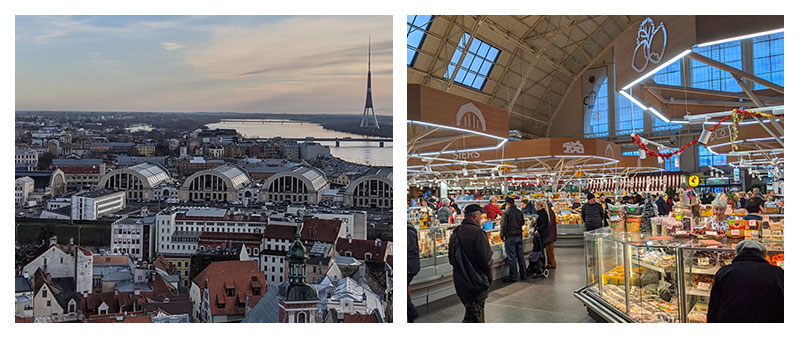
I discovered this delightful dessert in Riga’s Central Market. Unlike the Christmas market, the Central Market is a year-round, gigantic market made up of five German zeppelin hangars (you read that right) surrounded by hundreds of outdoor vendors. You will find yourself wishing there were more meals in the day, just so you can eat your way through the market. There are hangars devoted to meats, produce, cheese and sweets, and perhaps the most incredible array of seafood I’ve ever seen, most of it still flopping around on the ice, not to mention a food court featuring regional and international flavors, which is where I found my first honey cake (pictured in the header).
When we returned to the States, I decided I would make that delectable confection, the honey cake, and I started researching recipes. And I was appalled. Every recipe seemed like a mountain of work, and I gave up on my honey cake dream.
Until the pandemic hit.
Now, it seems, I have time to make this cake. So I started looking around the internet for another recipe, and that’s when I discovered this meditative video from Cooking Foodie that makes honey cake production look like a serene experience. It inspired me. I thought, “I can do this!” And so I did, once for my birthday and once again for this blog.
While it might not look the same, I assure you, Cooking Foodie’s Medovik recipe tastes just as good (well, almost as good) as that honey cake in Riga.
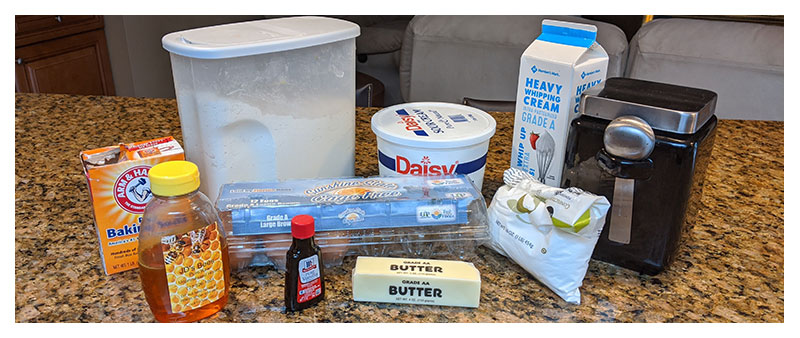
Here’s what you’ll need.
For the cake:
3 eggs
¾ cup sugar
7 tablespoons butter
4 tablespoons honey
1 teaspoon baking soda
3½ cups flour
For the icing:
1 cup heavy cream
1½ cups powdered sugar
1 teaspoon vanilla extract
2¼ cups sour cream
First things first. This cake is not hard to make. It just takes some time. So maybe settle in on a rainy day. Relax. Enjoy the experience. You won’t mess it up, and it will all be worth it. I promise.
1. Preheat your oven to 350 degrees. Look at that. One step already done!
2. Next, in a heat proof bowl beat the eggs and sugar together until they are light and fluffy. Then add in your butter and honey.
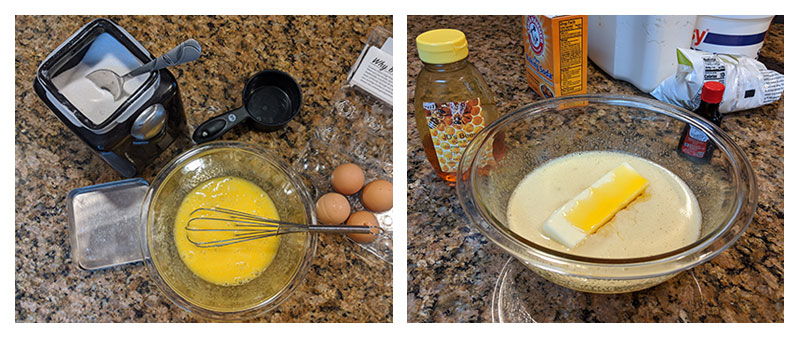
3. Place the bowl over a bain marie (double boiler). If you can set your bowl over boiling water, that’s all you need to do. Stir the mixture until the butter is completely melted and the sugar dissolved.
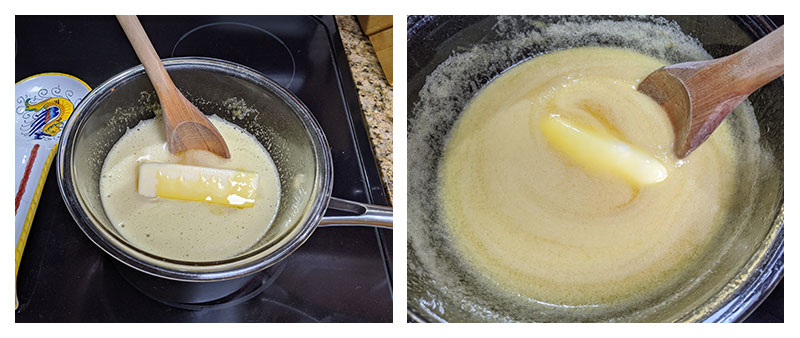
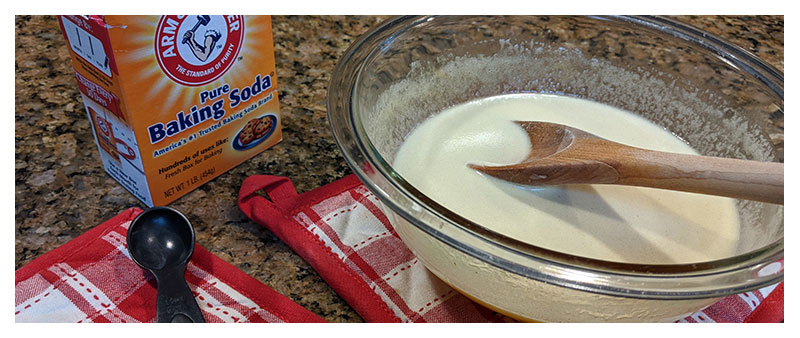
4. Remove the bowl from the heat, and add in the baking soda.
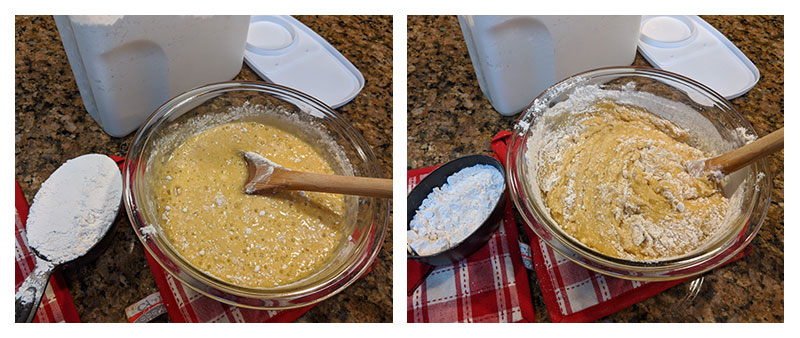
5. Gradually add in the flour, and mix with a wooden spoon until the dough forms. The dough will be sticky. Remember, it’s made with honey!
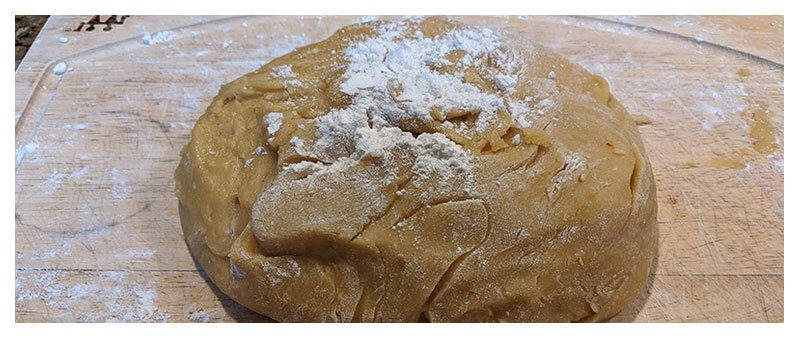
6. Next, knead the dough on a lightly floured surface. As you add in more flour, it will become less sticky.
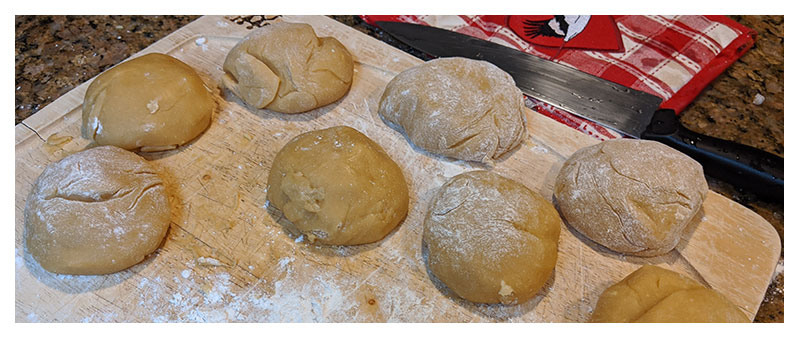
7. Divide the dough into eight equal pieces. The video makes this look easier than it is. I’m not joking when I say the dough is sticky, and it may stick to your knife! But once you get eight equal-ish pieces, roll them into balls.
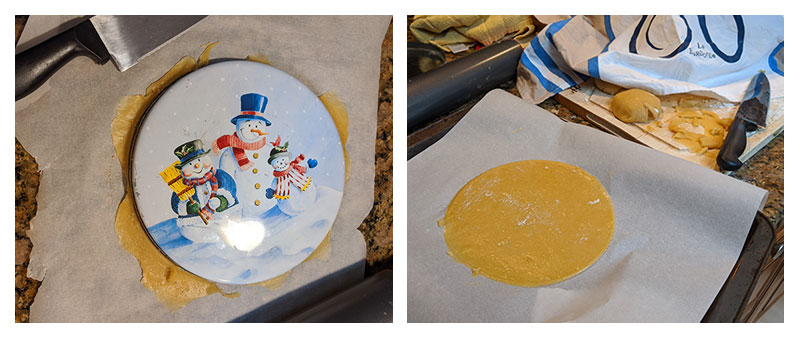
8. Take a ball, and roll it into a very thin layer. I’m talking very, very thin. It will feel paper thin. Then use a seven-inch cake ring or cake pan or whatever you have that works (for me it was the top of a Christmas cookie tin) and trim the dough. Be sure to keep the leftover pieces! We’ll use them to make the topping.
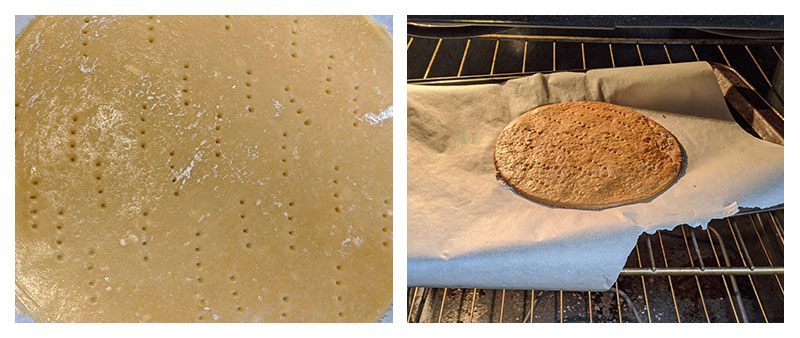
9. Pierce each layer with a fork multiple times (more on this later), and bake on parchment paper for about six minutes or until golden brown. Repeat the process for all eight balls (you’ll have time to roll out one layer as another is baking).
10. After you’ve finished with the layers, cook all those leftover pieces. They may bake a little quicker than the layers, so keep an eye on them.
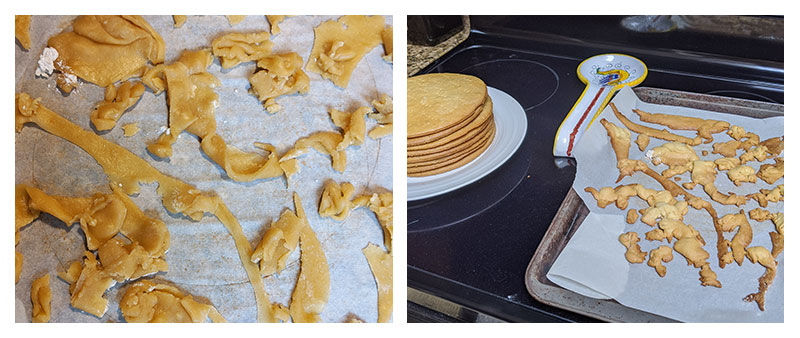
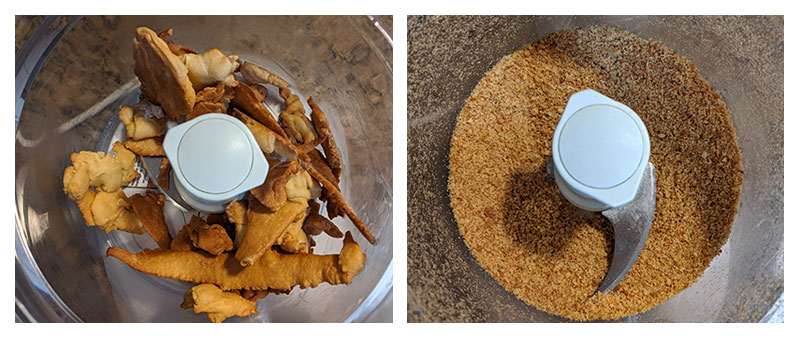
11. Once the trim pieces are cooked, pop those suckers into a food processor and turn them into crumbs!
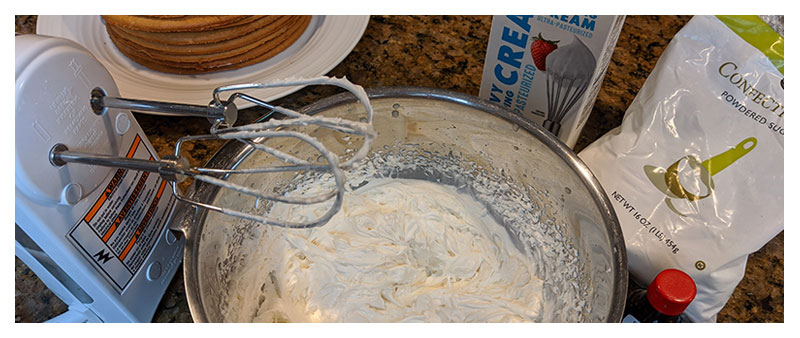
12. Now on to the icing! In a large bowl, beat the heavy cream, vanilla extract and powdered sugar into medium-stiff peaks. Real whipped cream is just wonderful, isn’t it?
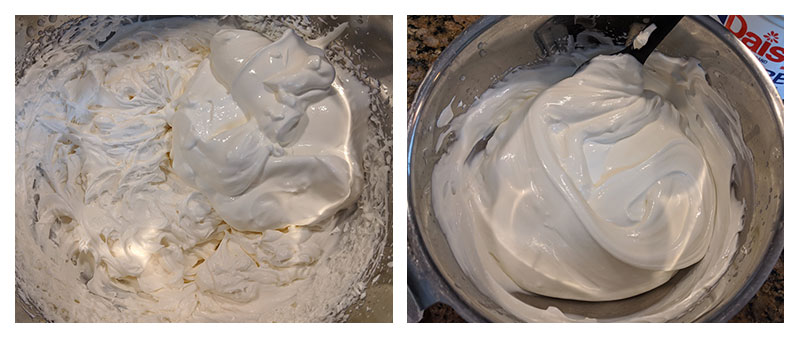
13. Next, fold in all the sour cream until it is smooth. Then it will be time to assemble the cake.
14. Spread about 3 tablespoons of cream onto a layer. Don’t be shy. Slather that icing on there. Then repeat with all eight layers. If you want your cake to be extra good looking, place some pieces of parchment paper under the first layer to catch any icing drips.
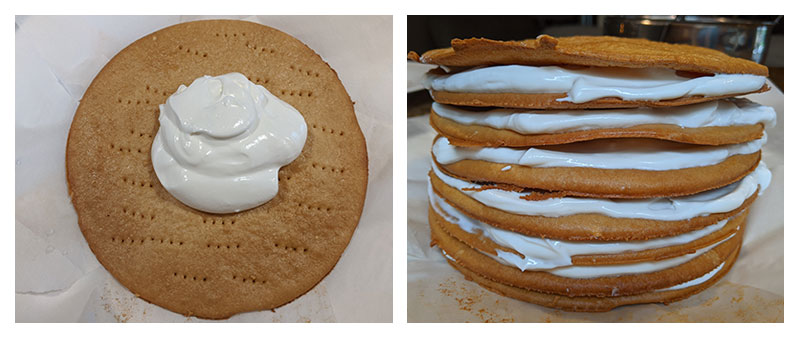
15. After you’ve layered cake, icing, cake, icing, etc, use the remaining cream all along the top and sides of the cake. Then take your crumbs and cover the cake. The more crumbs you have, the better the appearance. Remove the parchment paper from under your cake to give it a clean, finished look.
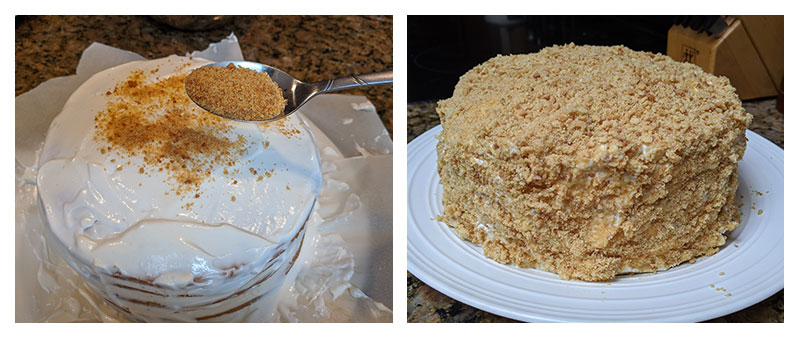
16. Now for the hard part. Refrigerate the cake overnight. Why is that, you might ask? You want to eat the cake right away? Well, remember all those little holes you forked into the layers? Those are there to absorb the icing, and the longer you leave it, the softer your cake will be.
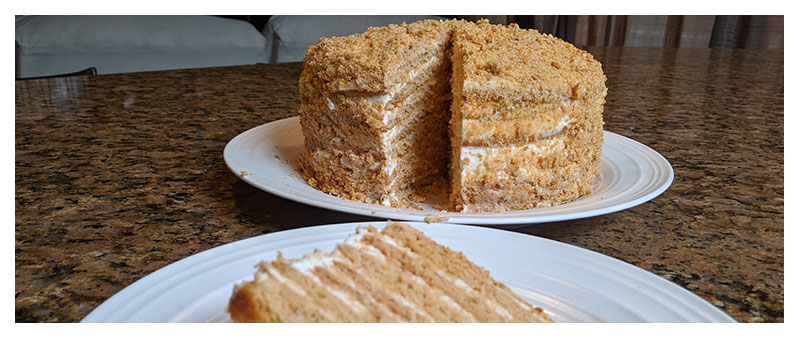
And that’s it! I hope you enjoy your honey cake, and I hope more than anything we can have a slice in Riga again soon.